
When it comes to comfort food, few dishes can rival the warmth and nostalgia of a homemade apple pie. In Ukraine, the traditional Pyrig z Yablukamy puts a delightful spin on apple pie, captivating your taste buds and enveloping your kitchen in the warm aroma of baked apples and flaky pastry. Join us as we delve into the enticing world of this Ukrainian classic, exploring its ingredients, preparation process, and the joy it brings to every table.
The Ingredients: A Symphony of Flavors
To create the perfect Pyrig z Yablukamy, you will need a handful of simple yet essential ingredients that come together to form a harmonious blend of flavors and textures. Here’s what you’ll need:
For the Dough:
- 3 cups of high-quality flour: This will be the foundation of your pie crust, providing structure and a tender bite.
- 1 cup of sugar: Sweetening the dough and balancing the tartness of the apples.
- 200 grams of margarine: This adds richness and creates a flaky texture that melts in your mouth.
- 1 cup of kefir: A tangy fermented milk product that brings moisture and a subtle depth of flavor to the dough.
- 1 egg: For binding the ingredients together and adding a beautiful golden hue to the crust.
- ½ teaspoon of baking soda: This will help the dough rise slightly, giving it a light and airy quality.
- ½ cup of semolina or breadcrumbs: Sprinkled on the bottom of the pie, this ingredient absorbs excess moisture from the apples, keeping the crust perfectly crisp.
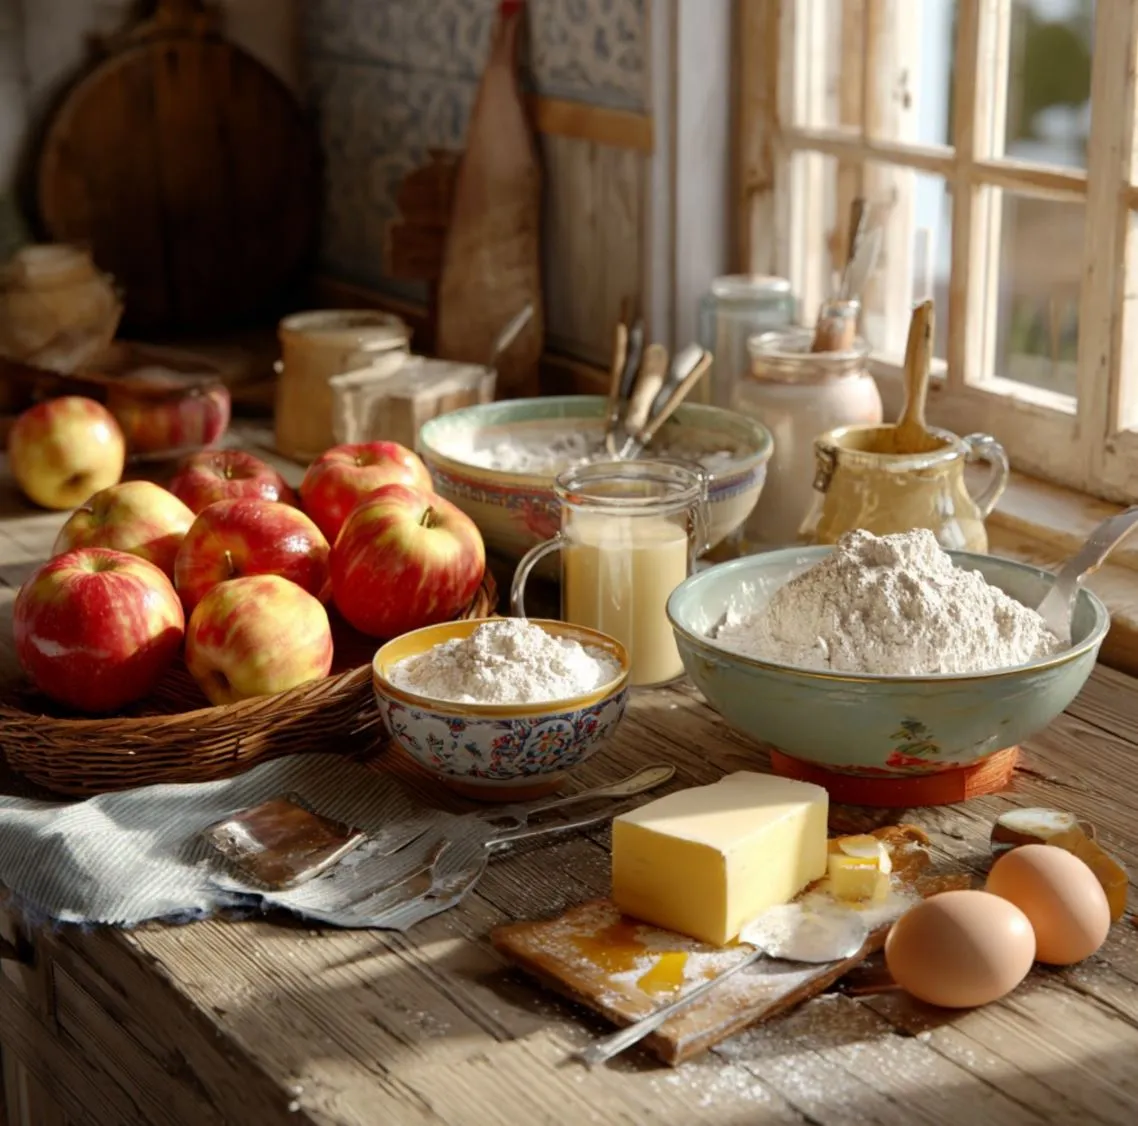
For the Filling:
- 1.5 kilograms of apples: Choose a mix of sweet and tart varieties for a balanced flavor profile. Granny Smith, Honeycrisp, or local Ukrainian apples will work beautifully.
- 1 cup of sugar: To sweeten the apples and enhance their natural flavors.
The Preparation Process: Crafting a Masterpiece
Now that we have our ingredients ready, let’s embark on the journey of making this delectable apple pie.
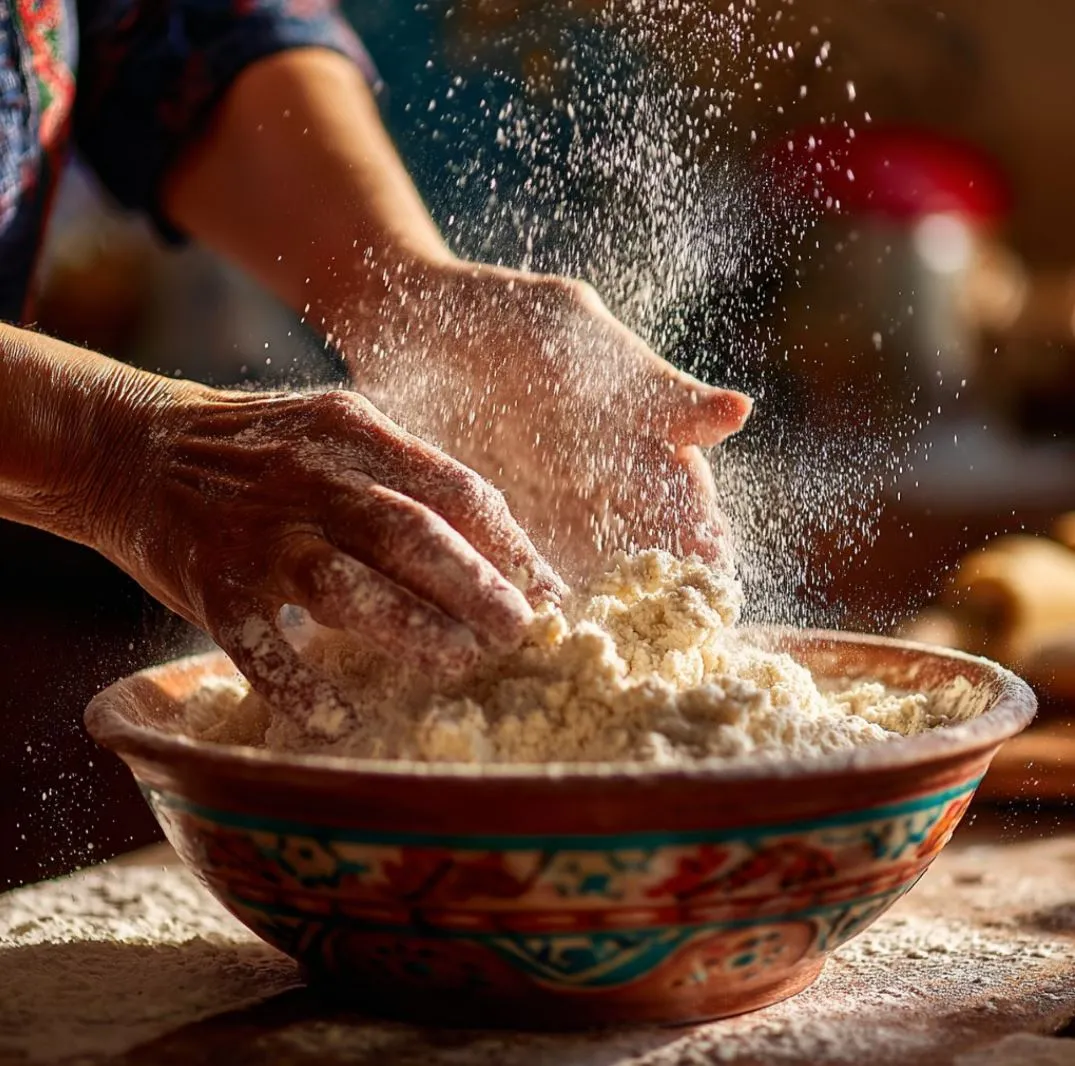
Step 1: Making the Dough
Start by combining the flour, sugar, margarine, and baking soda in a large mixing bowl. Use your fingertips to rub the margarine into the dry ingredients until the mixture resembles coarse crumbs. This step is crucial as it incorporates air into the dough, ensuring a light and flaky crust.
Next, add the kefir and egg to the mixture. Using your hands or a wooden spoon, gently mix until a soft dough forms. Be careful not to overwork it – we want to keep that tenderness intact! Once combined, wrap the dough in plastic wrap and let it rest in the refrigerator for about 30 minutes. This resting period allows the gluten to relax, making it easier to roll out later.
Step 2: Preparing the Apples
While the dough is chilling, it’s time to prepare the star of our dish – the apples. Begin by peeling, coring, and slicing the apples into thin wedges. The thinner they are, the better they will cook down and meld with the sugar.
In a large bowl, sprinkle the sliced apples with sugar and toss them gently to coat. Let them sit for about 30 minutes; this will draw out their natural juices and enhance their sweetness. Afterward, drain any excess liquid using a colander – we don’t want a soggy pie!
Step 3: Assembling the Pie
Preheat your oven to 180°C (350°F). Now comes the exciting part – assembling your Pyrig! Take your rested dough out of the refrigerator and divide it into two portions: one slightly larger than the other.
Roll out the larger portion on a floured surface into a rectangle that fits your greased baking sheet. Transfer it carefully onto the sheet, ensuring it covers the bottom and sides. Sprinkle semolina or breadcrumbs evenly over the crust; this will act as a barrier against moisture from the apples.
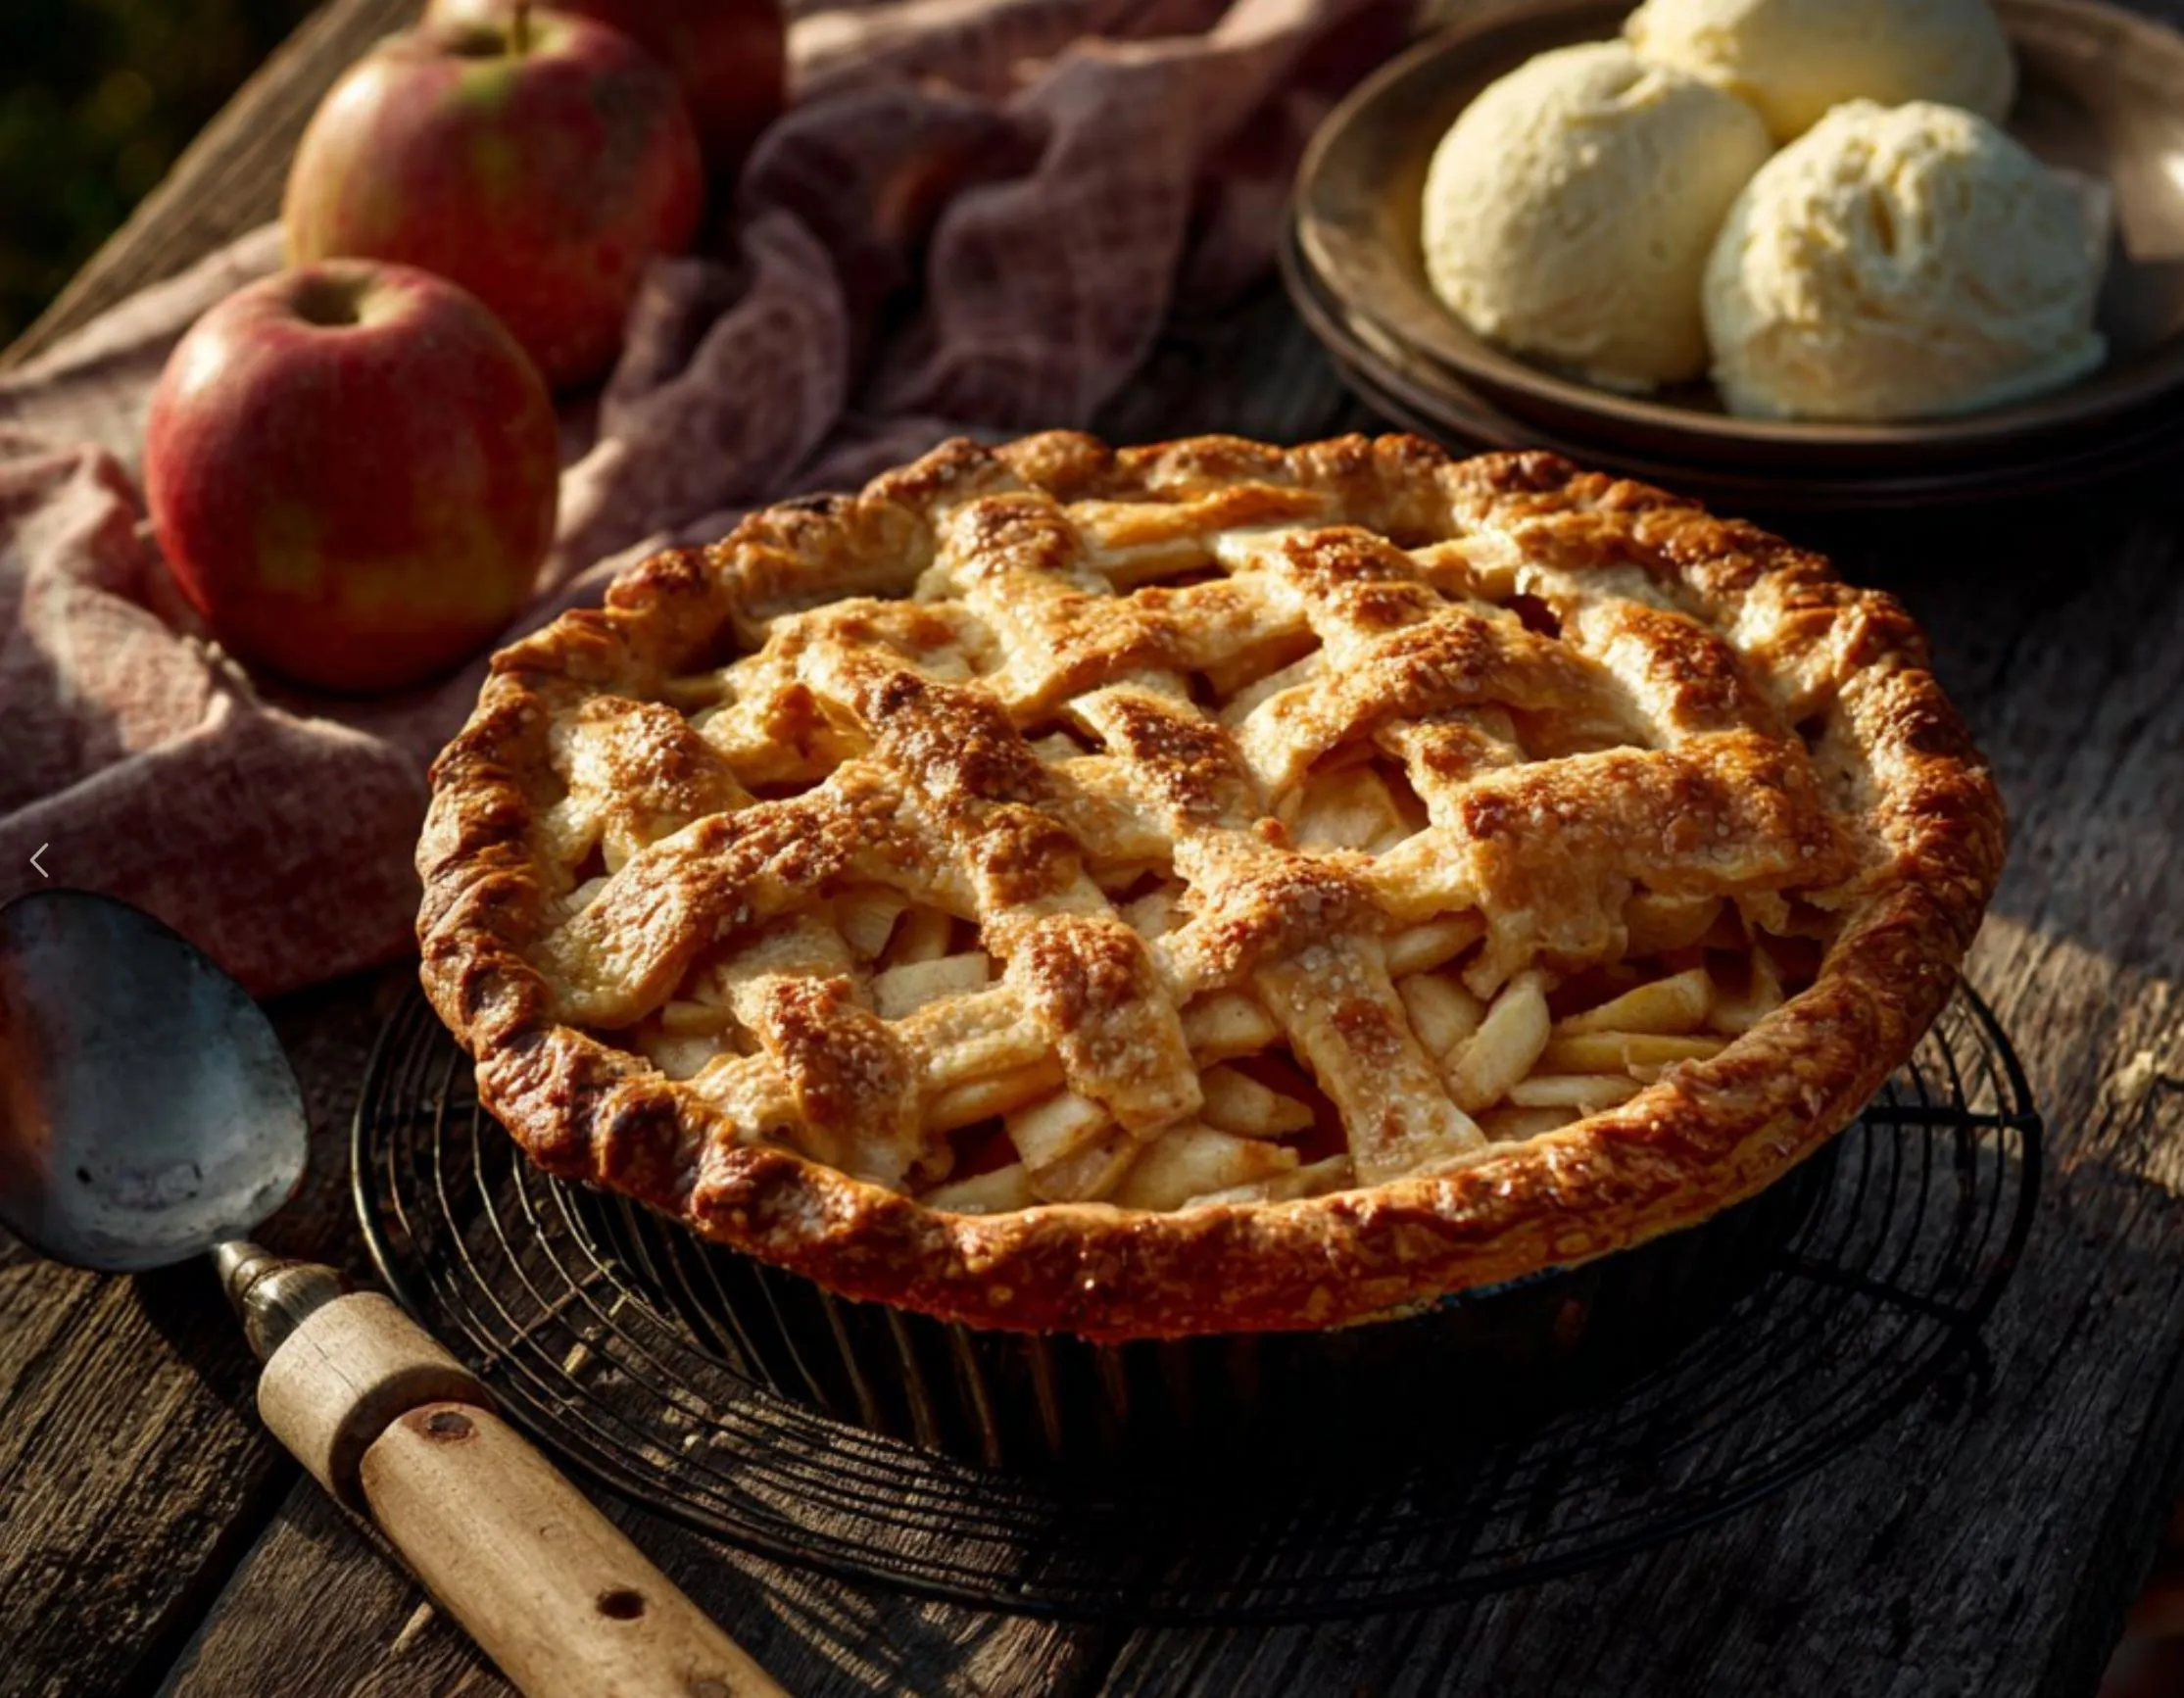
Next, layer your drained apple slices over the crust in an even layer. The sight of those glossy apple slices is enough to make anyone’s mouth water!Now, take the remaining dough portion and roll it out into strips. Arrange these strips in a crisscross pattern over the apple filling to create a beautiful lattice top. Alternatively, if you prefer a more rustic look, you can simply fold up the edges of the dough to create a border around the filling.
Before placing your pie in the oven, brush the top with beaten egg to achieve that golden-brown finish while baking.
Step 4: Baking to Perfection
Slide your Pyrig into the preheated oven and let it bake for about 45-50 minutes or until the crust is golden brown and crispy. As it bakes, your kitchen will fill with an irresistible aroma that will have everyone eagerly waiting for dessert.
Once baked, remove your pie from the oven and allow it to cool slightly before slicing. This cooling time helps set the filling, making it easier to cut neat slices.
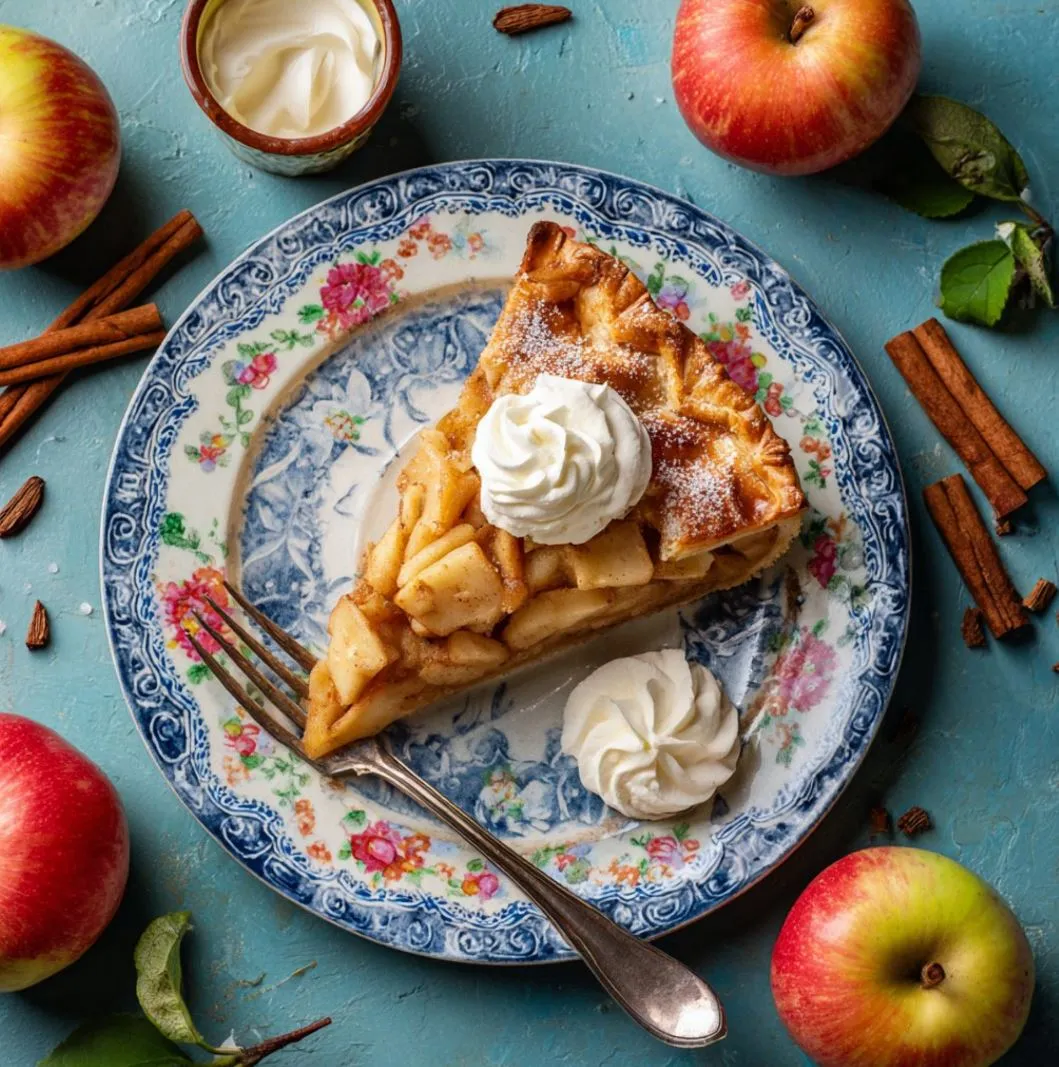
The Final Touch: Serving Your Pyrig
Serve your Pyrig z Yablukamy warm or at room temperature, perhaps with a scoop of vanilla ice cream or a dollop of whipped cream on top for an extra indulgence. The combination of warm pie and cold cream creates a delightful contrast that will send your taste buds into overdrive.
As you take your first bite, savor the flaky crust that crumbles beautifully at every forkful, revealing layers of tender apples infused with sweetness. Each mouthful is a celebration of flavors – sweet, tart, buttery – all harmonizing together in perfect balance.


